August 30, 2024
How To Use Reverb
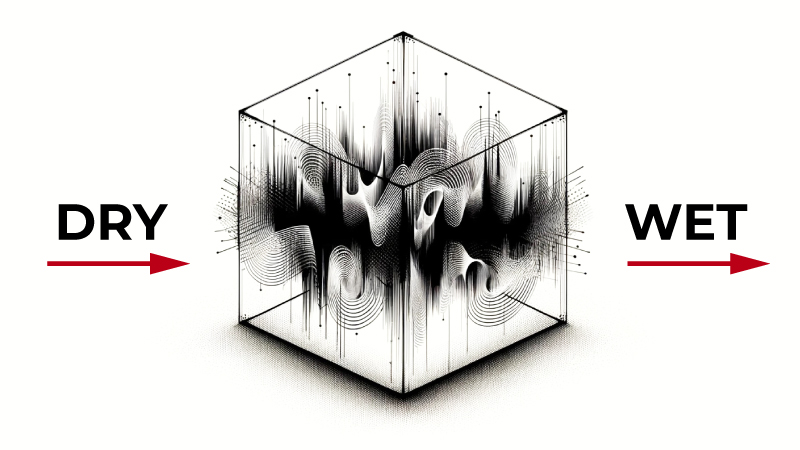
This article is all about how to use reverb. Given the vast array of choices we have in modern recording systems, it’s important to understand the thought process behind using and choosing reverbs.
WHAT IS REVERB?
Whenever you have a sound source, the sound travels outward and, upon hitting walls, it bounces back. Reverb is the combination of all these echoes coming back to your ears. This creates a tail to the sound, which can vary in tone and length according to the size and type of space. When sound hits a wall, it bounces back. If the wall is made of concrete, it will reflect sound strongly and have a distinct sound. However, if there’s a textile covering the wall, it will be less reflective and thus sound different. Similarly, a wall in a library will make the sound distinct again due to the different materials and objects absorbing and reflecting the sound.
Our ears are highly sensitive to reverb, using it to paint a mental picture of the sound’s origin. There are two main components to reverb:
EARLY REFLECTIONS
These are sounds from the first reflections off the walls and give us our initial impression of the room’s size.
TAIL
This consists of multiple reflections bouncing back and forth between walls, taking longer to decay. The tail comes after the early reflections.
CREATING A SPACE
You can play with the balance between early reflections and tail to create the specific ambiance you want in your mix. For instance, for a jazz tune, you might want to emulate the feel of a jazz club. This would involve a bit of early reflection and a tail about 1 to 1.5 seconds long, depending on the club’s size you’re simulating.
If you’re aiming to simulate someone singing in a cathedral, you would minimize early reflections due to the walls being distant. The reverb, in this case, would be more balanced towards the tail, which would be much longer, perhaps 2 to 4 seconds, to simulate the vast, echoing ambiance of a cathedral.
MAKE YOUR REVERB PERSONAL
Using generic reverb settings can often result in a sound that feels a bit flat. I encourage you to experiment with different plugins after the reverb. Try adding chorus, a phaser, saturation, delay, or a spatializer to adjust the width or narrowness of your vocals. The most exciting aspect of using reverbs is the creative freedom they offer, allowing you to craft a sound that’s personal and captivating.
WANT TO KNOW MORE ABOUT MIXING REVERBS?
If you enjoyed this article, you’ll definitely want to check out our full video course, The Official Guide To Mixing, where we delve into all the techniques you need to make your music sound professional.
Here’s a video where I explain reverbs:
Doctor Mix: How To Use Reverbs
Popular Posts
-
 The Theremin Explained
 -
 Roland D-50: Digital Brain, Analog SoulAugust 2, 2024
 -
How To Use ReverbMarch 31, 2024
-
 Singer’s Vocal Range ChartMarch 22, 2024
 -
 Note To Frequency ChartMarch 8, 2024
 -
 Parallel Compression ExplanainedMarch 3, 2024