August 30, 2024
How To Make Professional Audio Cables
Making pro audio cable is easier than you think, it can save you a lot of money and it makes you feel like you really own your studio. Here we show how to make a professional balanced XLR cable with Neutrik connectors.
Related Videos:
How To Build A Cable Maling Rig
https://www.doctormix.com/blog/how-to-build-a-cable-making-rig
Know your cables:
https://www.doctormix.com/blog/what-audio-cable-is-best
In this video we use our Doctor Mix Cable Making Rig and the following material:
– Neutrik NC3FXX – professional XLR female connector with
strain relief.
– Neutrik NC3 MXX – professional male XLR connector with
strain relief, solder contacts and cable boot, without
locking window.
– Sommer Cable SC Club Series MkII – professional microphone
cable, 2x 0.34 sq. mm, 6.5mm diameter, 56g/m, 53ohms/km cable impedance, 25ohms/km shield
impedance, black.
– Palmer Cable Tester XL AH MCT XL, prof. Cable Tester with LED indicator, for: XLR, unbal./bal. jack (1/4″), Speakon 4 Pol, Speakon 8 Pol, RJ45, RCA, DIN (8 pol.), Midi, USB, S-Video, Battery test-LED.
– Heatshrink sleeve
Material: Heatshrink polyolefin sleeving 1350C shrink ratio 3:1 Grade: Printashrink CPF/FR-3 (flat grade)
Size: 9/3mm ID x 100mm long
Colour: Red
Did you know that you can get the Doctor Mix team to mix, master or produce your music for you? Please feel free to contact us here or send us your music and questions via Wetransfer to info at doctor mix dot com and we’ll be happy to give you our feedback and suggest the right package for you.

Popular Posts
-
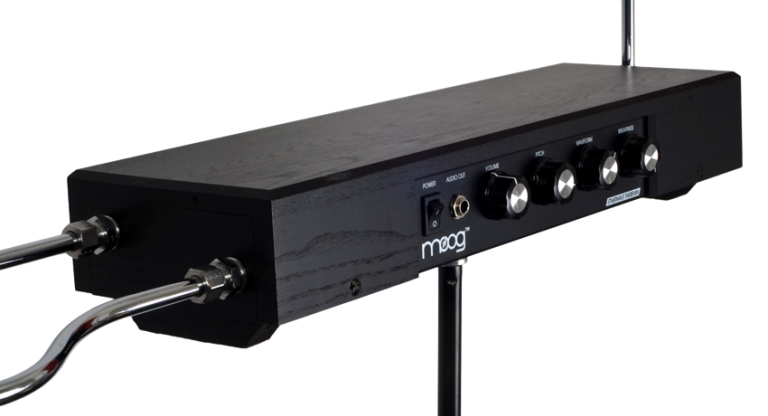 The Theremin Explained
 -
 Roland D-50: Digital Brain, Analog SoulAugust 2, 2024
 -
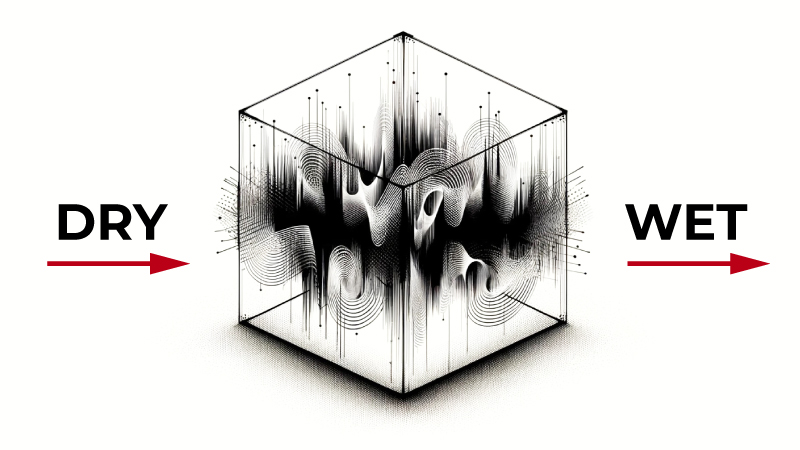 How To Use ReverbMarch 31, 2024
 -
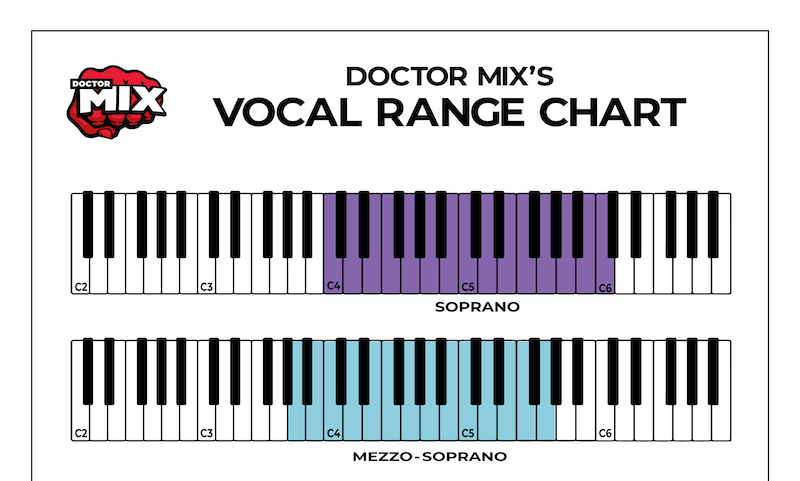 Singer’s Vocal Range ChartMarch 22, 2024
 -
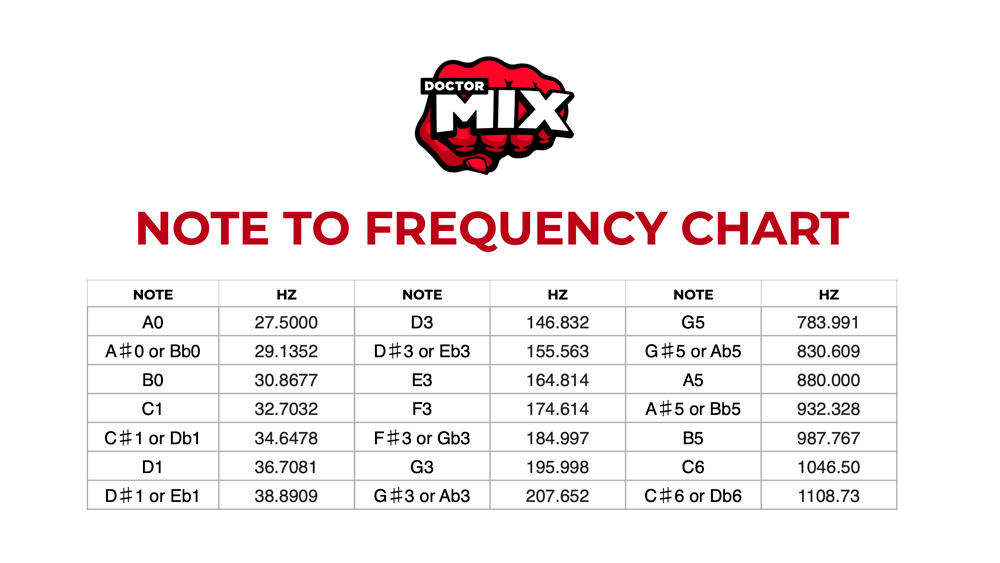 Note To Frequency ChartMarch 8, 2024
 -
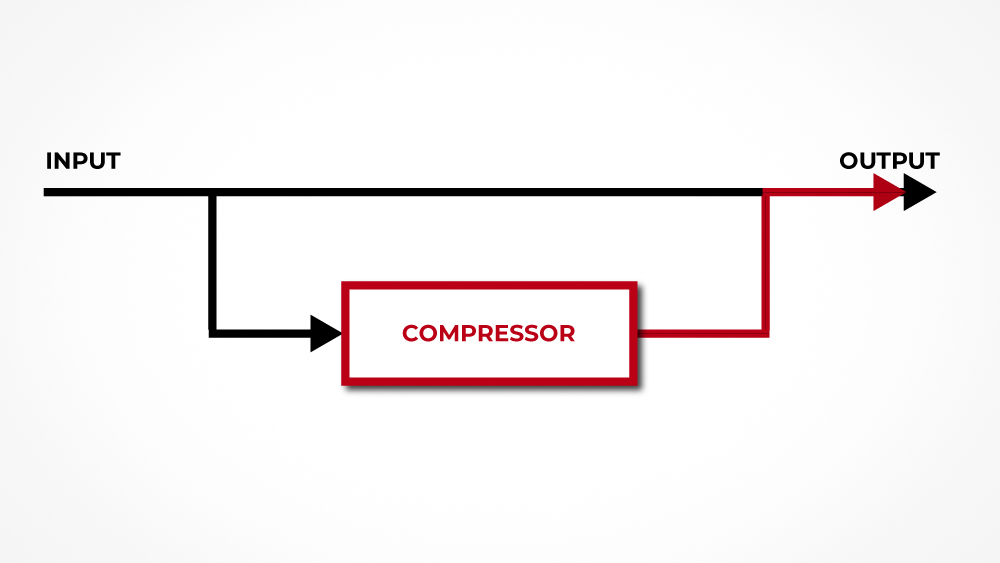 Parallel Compression ExplanainedMarch 3, 2024